Pages

Showing posts with label Centennial Solids. Show all posts

Wednesday, December 31, 2014

Christmas gift sewing part 2

More Christmas gift sewing - pillow shams to coordinate with the Amish with a Twist quilt I finished for my mother in June :)

Luckily I had some extra bits of all the solids used in the quilt, so I opted for a simple design of 2.5" finished squares with a Kona Snow border.


40 squares per pillow...


A simple crosshatch quilting design and a raspberry binding finish these standard sized shams perfectly.  They measure approximately 21" x 27".  The backings have a simple envelope closure in Kona Snow.


And yes, she loved them!  When she gets the filler pillow forms she promised to send me a photo of the whole ensemble so I'll share that later.


In other Christmas gift news, one of my SILs told her husband that they need to purchase a new sofa to coordinate with the quilt I made for her - haha!.  Have you ever redecorated a room around one of your quilts?

Thursday, June 12, 2014

she loved it! (a finished quilt for my Mom)

Last weekend my parents came for a visit, and I was able to give my mom her new quilt! I had finished sewing the binding and label at the 11th hour just before their arrival. The quilt is queen-sized, so that translates into approximately three miles of binding to hand sew, and (as you probably have heard) I am the world's slowest when it comes to hand sewing.


I'm sooo happy that I had the chance to sew this for her - I think it's absolutely gorgeous! The top was pretty in its own right, but the quilting that my friend Carol added makes the quilt something extraordinary. It took quite a long session of looking over quilting patterns to select all the designs for each section, but Carol was patient and insightful as I made decisions, second-guessed them, changed my mind, hemmed and hawed, and generally just agonized over making the perfect choices. In the end it was all worth it because I love it and most importantly - my mom loves it :)


Sorry for the photo overload, but there are so many great designs to see here. All of the quilting except the piano key inner border was done with a medium beige thread. The piano key border is quilted with an olive green thread.


Look at those great veins she quilted into the leaf shapes - they add so much dimension and interest!


And the oversized floral vines in the outer border fill in all that blank space perfectly.


The back of the quilt is almost as pretty as the front! I used Kona Snow so all the beautiful quilting stitches would be the focus and also so there wouldn't be any fabric print or design that might show through on the front of the quilt.


You know how sometimes a project turns out exactly the way you planned, and that outcome makes the whole experience of creating it so completely satisfying? Well this quilt is more amazing than I had planned or imagined - I simply could not be more pleased with it. And knowing that my mom loves it (she may have cried a bit when she saw it) makes this quilt the best one I've ever made :)

What was your most satisfying sewing experience?

Tuesday, January 14, 2014

one down, one to go...

Great progress to report - the sashing and cornerstones as well as the first border on the Amish with a Twist quilt are completed!

The Kona Snow sashing and the random colored cornerstones finish at 3" wide. Combined with the small corner squares in each of the blocks, the cornerstones give the setting sort of an Irish Chain feel. I like that!


Since this pattern is structured as a block-of-the-month program, the directions called for strip-piecing the piano key border in sections as I cut and sewed each of the blocks. After all 12 blocks were completed, I had about 8 different color versions of 4-strip border sections already pieced, cut and ready to go. Whew!


It felt like there were thousands of those 1.25" strips needed to make up the border, and I was soooo glad the only work remaining was to sew the already made 4-strip sections into the long border pieces.


Aren't the colors fabulous?!


And now the top is too big for the design wall, so I had to drape it over the railing to get a shot of the entire thing! The size now is about 65" x 85".


While pressing the border seams, I had the ironing table set up in front of a sunny window. As I was flipping the quilt top over, I caught a glimpse of it with the sun shining through it, so I taped it in front of my sliding glass doors to get the "stained glass" effect photo...


All that remains now is the final border of applique. I've decided to hand applique all the stems, leaves, and flowers because I think it looks so much prettier. And I want this to be really pretty for my mom :)

Hand-applique is a time-consuming process, so progression from here will be slow-going. I just can't sit for hours at a time doing hand sewing work; I save it for an hour here and there in the evenings while I'm watching/listening to the TV. I'll continue to show you my progress, but it won't be as drastic and exciting. This is still my #1 sewing priority, but I'll be working on other things now during the prime daytime sewing hours.

I think I'm still on track for a Mother's Day finish!

Monday, January 6, 2014

and this is the reason I always buy extra fabric

While sewing all the corner units to set the "Amish with a Twist" blocks on point, I realized that a few of my blocks didn't match those shown in the quilt pattern photo. What?! And I had been so careful labeling everything and translating it from the black background version color chart!

The Diamond Star and Flying Geese quilt blocks do not contain that pewter grey color in the pattern quilt (and I didn't much care for how dark it made these blocks anyway) so I remade them swapping the pewter for a light pink. The revised versions are on the left in the photos below.


Less dreary = much better :) And I'll just toss those extra blocks into the "future kitchen sink quilt" bin where they will be resurrected into something fabulous far into the future...


But for now, the word of the year is FOCUS. As in keep-your-head-down-and-finish-this-quilt-before-starting-anything-else focus!

The on-point setting triangle units are all pieced and sewn onto all of the blocks ...


Sashing and cornerstones are up next for these blocks and then two borders. Yay for progress!!

Friday, January 3, 2014

back at it with blocks 7-12!

New year, new sewing energy!! Happy 2014 everyone!

We're covered in snow here in Northern Illinois with more expected this weekend. Perfect weather for sewing and online house hunting for properties in the southeastern region of the US! Quite a bit of both has been happening around here these first few days of 2014, but on to the sewing update...

I'm making progress on the Amish with a Twist quilt for my mom. All 12 block centers are completed, and the corner pieces needed to set them on point are cut.

Blocks 7-9 feature the stitch and flip method of adding triangles to the edges of squares or rectangles. Snowballs, diamond stars, and flying geese are just of a few of the blocks you can sew using this technique.


Blocks 10-12 combine techniques from all the previous blocks to create Hole in the Barn Door, traditional Square-in-a-Square, and Birds in the Air...


You may have seen photos and blog posts very recently about the Economy Block quilt along going on now with Brenda at Pink Castle Fabrics, Katy at I'm a Ginger Monkey, and Rita at Red Pepper Quilts. The economy block is a traditional square-in-a-square. The quilt along is focusing on using up scraps and stash to make these fun blocks - something I should definitely jump into! But I'm trying to maintain focus and get this quilt top finished. It's my #1 sewing goal for this year.  Ideally I'd like it to be completed in time for Mother's Day, which right now in the depths of snow and cold feels like years away.

What's your #1 sewing goal for 2014?


You can read about blocks 1-6 in this post.

Friday, November 15, 2013

a quilt for my mom

Earlier this year I found myself stopping and staring at the same finished quilt every time I shopped in one of my local quilt stores. This was the quilt - the original Amish with a Twist pattern by Nancy Rink.


When I'd look at the bolts of solids used in the quilt they didn't seem nearly as bright and saturated as they did against the black background of the finished quilt. And you know how I love the bright colors! I really wanted to make one, but I have no queen sized beds at my house, and I couldn't think of anywhere I would put it, so I shelved the idea.

Then a couple of months later, I discovered on the Hancock's of Paducah website that Nancy Rink had created a few different colorways of the same pattern and I asked my mom right away what she thought of this version...


Yep - she was all for it! So here we are several months later, and I've finally managed to take some photos of the progress. The pattern is sectioned into five "lessons", each one slightly increasing in difficulty so that beginners can feel comfortable starting out and learning new skills as they progress.

Here are the blocks from Lesson #1 - strip pieced rail fence, four-patches, and nine-patches. Nancy does a terrific job in this pattern with diagrams and clear, well-worded instructions. Any confident beginner could jump right in a have great success with this pattern.


Lesson #2 focuses on half-square and quarter-square triangles to make hourglass, star, and pinwheel blocks utilizing the best method for success - constructing the sub-blocks larger than needed and then trimming to size!


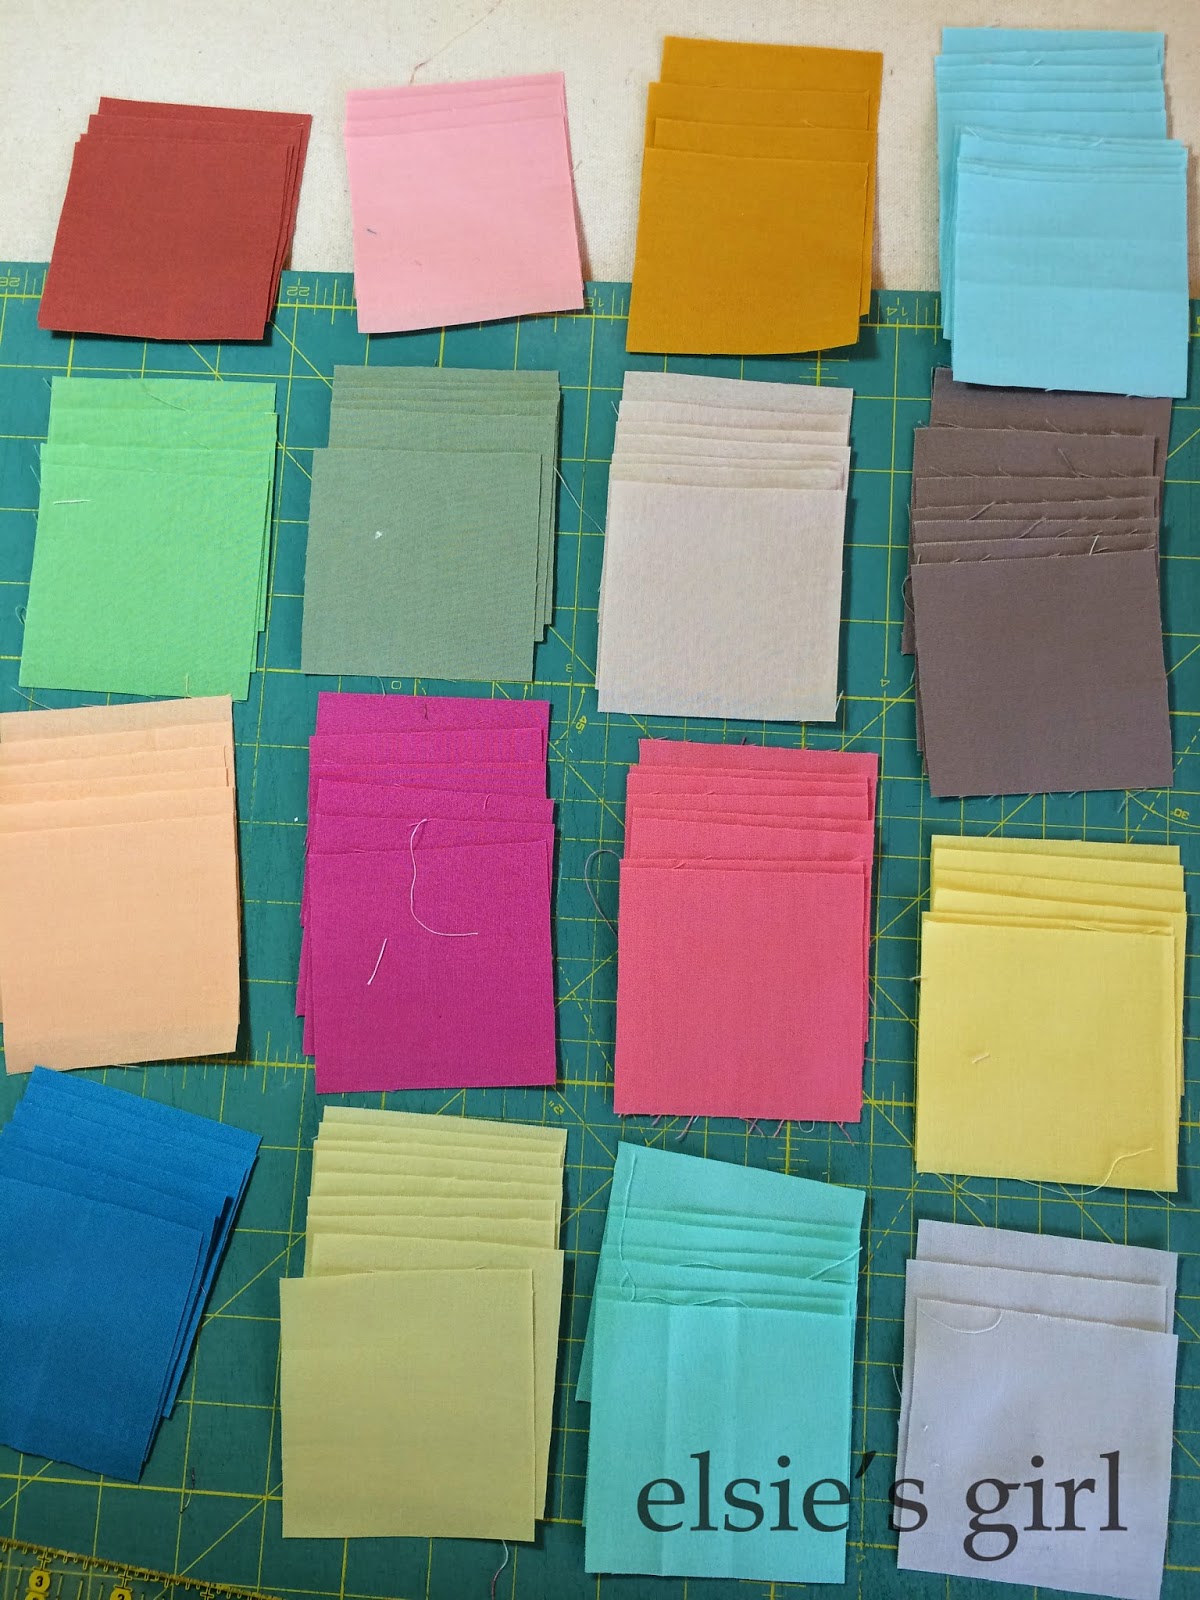
The fabrics used in this quilt are Centennial Solids from Marcus Fabrics. It will finish at 88" x 105.5" - perfect for my mom's queen sized bed!

The pattern for the version on cream background was not re-written to utilize the new fabric colors, but both Nancy Rink and Hancock's Paducah were able to send me a conversion chart so I could order the correct colors and change the color names in the original pattern. Honestly that has been the most challenging part since there are three colors that are used in both the dark and light versions, but not in the same places. That part is keeping me on my toes! Next time I'll show you blocks 7-12 from Lessons #3 and #4.

Happy Weekend!!

P.S. At the time I was ordering these fabrics, the kit for the light version was no longer available for purchase from Hancock's Paducah, but their telephone rep and Nancy Rink were both so helpful in guiding me to the correct colors and quantities I needed. So if you are interested in making the same quilt, you can click here to see the dark version pattern available for sale at Hancock's Paducah, and here for Nancy Rink's contact information.

LinkWithin

Related Posts Plugin for WordPress, Blogger...