Pages

Tuesday, June 25, 2013

a summery pincushion to swap

I'm finally back to show and tell you about the pincushion I made for my guild swap. (I took a little vacation hiatus with DH to celebrate our 25th wedding anniversary. And because we're the best parents ever, we let our girls come along too.)

So here is the super-cute pincushion I made for my swap partner whose favorite color and season are yellow and summer :)


I used the same tutorial that I referenced in my previous post, but did a few things differently that seemed to make it easier this time around.

Before folding the white edges over to be stitched down, I applied a touch of Roxanne's Glue Baste so I wouldn't have to secure them with pins for sewing. Much better results and much easier! The center still could be better, but since this is only my second attempt (and I knew it would be covered by a button!) I let it slide.


I made the backing more like an envelope pillow backing to better hide my hand closure stitches - the edge of one backing section is folded under slightly and overlaps the other backing section.


I sewed the back together after stuffing it just like I sew on bindings. Pretty good results, I think...


I took a slightly larger seam allowance - a hearty 1/4" this time - to make sure all the corners were well within the seam allowance and no raw edges were peeking out...


A small muslin case finishing about 1/4" smaller than the pincushion holds the crushed walnut shell stuffing. It's a full case, but not overstuffed since I had a bit of difficulty getting the last muslin case into the pincushion form. But by making the stuffing case a bit smaller and not filling it quite so full, I had no problems with this one.


Since I had never made a pincushion before, I had no idea that crushed walnut shells make a fabulous stuffing material. They give a hefty weight to the pincushion and help maintain the sharpness of the pins used in it. You can buy them in bulk at pet stores since they are primarily sold for use as reptile bedding. My LQS carries one cup zip-bags of them for $1 - so much better than buying a 10 lb bag. But if you do use them, you'll definitely want a muslin bag to hold them in your pincushion because they are tiny - like grains of sand!

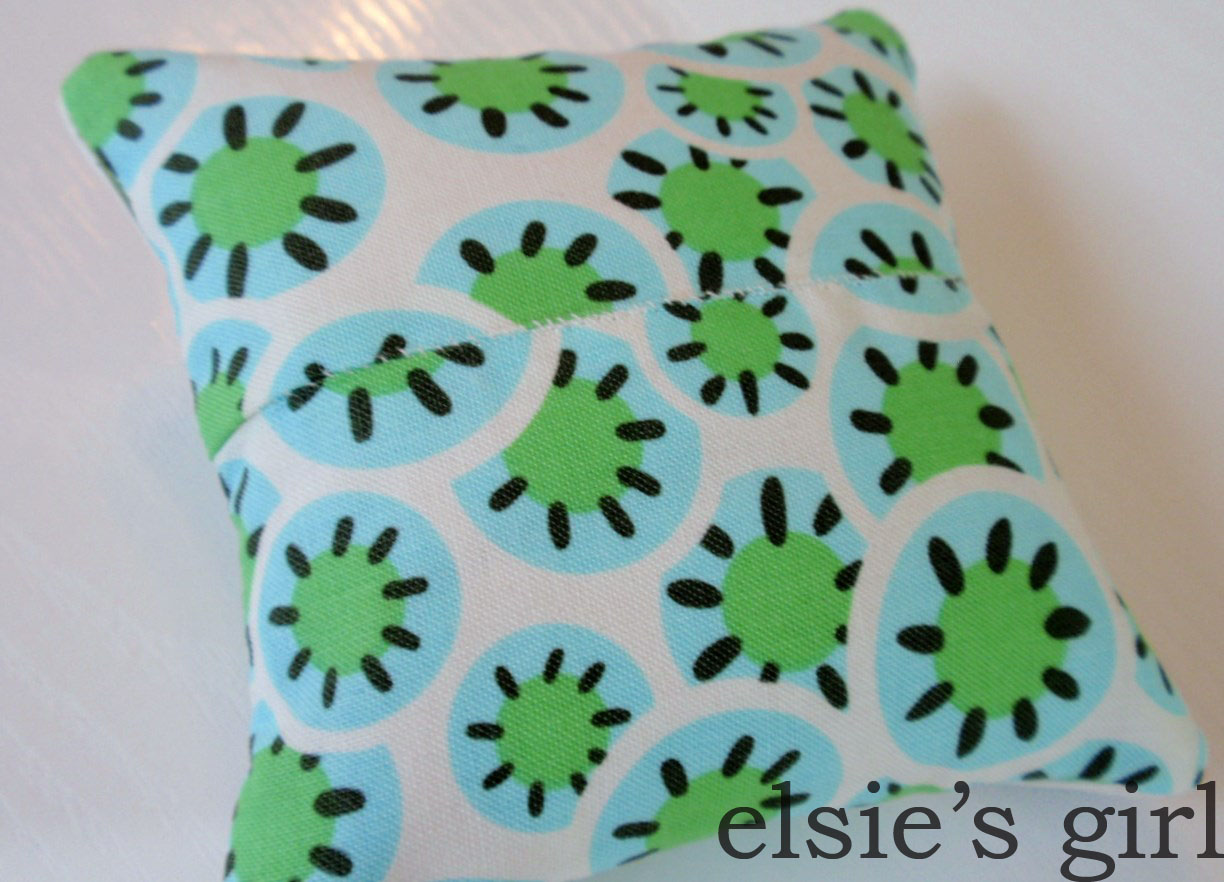
Finished size - approximately 4" square.

Since I missed our last guild meeting while I was away on vacation, I haven't yet received the pincushion made for me by my secret swap partner. I can't wait to see it!

Thursday, June 6, 2013

pincushion fun

My modern quilt guild is coordinating a pincushion swap this Sunday. We each filled out a short list of questions about our favorite color, season, movie, music, etc., and then randomly drew a paper. Our guild is relatively new - just started in February this year - so this is a great way to learn more about another member.

It took me forever to decide on a pattern for my swap partner until I found this Cathedral Window one on Pinterest with a tutorial - woo hoo! So I decided I'd better make a trial one first, and here it is...


I followed the tutorial just as it is written and... not too bad, huh? Here's the back where I had a bit of trouble keeping my stitches hidden since the pincushion might be a tad overstuffed with crushed walnut shells.


Here's a photo of the only little problem I encountered (good thing I made the trial one first!) - I didn't take quite a large enough seam allowance when sewing the front and back together, so in a couple of the corners the dark blue fabric is not sewed down. A little touch of applique glue and now the corners are just fine since this version is for me.


I added a button from my stash to the top which adds to the cuteness factor and handily covers up the center spot where the cathedral window sections don't quite match up.


Maybe you recognize these fabrics? They are all leftover from the college quilt I made for Thing 1 last summer. The woman organizing our swap told us that she makes many gift quilts and always makes a pincushion for herself from the leftovers as a visual/decorative reminder of the quilt and it's colors and fabrics. Well I thought that was a pretty cool idea even though I use magnetic pincushions due to my extreme clumsiness (frequently knocking them off the sewing table - but the pins snap right back into place with a quick swipe across the floor!) and my fondness for that wonderful snap/click sound the pins make as they are caught by the magnet when I just toss them in the general direction of it while sewing :)


But I think I could really get behind this idea of a decorative pincushion for each gift quilt. Wouldn't they be so cute all lined up and displayed together?!


Next time I'll share the one I made for my swap partner, and tell you about a few of the modifications I made to the tutorial that made things a little easier for me.

Saturday, June 1, 2013

baby quilt for Joel, part 2

Just a few more snapshots of the quilting and binding that are now completed!!

Continuous, concentric squares - say that fast three times! I marked out the spacing for each square with a wash-out blue marker, but occasionally varied the number of squares within each space to mix it up a bit...


A shot from the back showing some quilted arcs. You can also see the bias-cut striped binding (because that's more fun than straight cut) and the circle print backing, both from Heather Bailey's Nicey Jane line. The binding is entirely machine sewn to make it more durable to stand up to lots of carrying around and washing :)


In all the sashing and borders I quilted these stacked triangles. So easy once you get into the rhythm...


My first attempt at a swirly scroll. They were so much easier to sew than they look! I did practice drawing them first, but seriously - not that hard...


And finally these pulleys. They kinda remind me of diaper pins which are not exactly mainstream anymore. Does that make them cool and retro?


This week I'll be writing a label for this quilt, and then it will be off to Joel's house!

Photos and instructions for all the quilting patterns I used in this post can be found in this book by Angela Walters (my new favorite machine quilting book!)

LinkWithin

Related Posts Plugin for WordPress, Blogger...