Pages

Wednesday, December 31, 2014

Christmas gift sewing part 2

More Christmas gift sewing - pillow shams to coordinate with the Amish with a Twist quilt I finished for my mother in June :)

Luckily I had some extra bits of all the solids used in the quilt, so I opted for a simple design of 2.5" finished squares with a Kona Snow border.


40 squares per pillow...


A simple crosshatch quilting design and a raspberry binding finish these standard sized shams perfectly.  They measure approximately 21" x 27".  The backings have a simple envelope closure in Kona Snow.


And yes, she loved them!  When she gets the filler pillow forms she promised to send me a photo of the whole ensemble so I'll share that later.


In other Christmas gift news, one of my SILs told her husband that they need to purchase a new sofa to coordinate with the quilt I made for her - haha!.  Have you ever redecorated a room around one of your quilts?

Tuesday, December 30, 2014

Christmas gift sewing

It's been radio silence here for a long while, and now I can finally show you the reasons!

Earlier this year I decided to make each of my five sisters-in-law on my husband's side of the family a quilt. The idea occurred to me as I stared at the closet of beautiful fabrics in my sewing room wondering how I would ever manage to use them all in my lifetime.  My SILs are all lovely women with very individual personalities and color preferences, so I thought a large lap-sized quilt for each would be not only the perfect Christmas gift, but also a great way to use up some of my ever-growing fabric stash.  I started digging through the closet pulling fat quarters and half yards to coordinate with the few pieces of yardage I had that were big enough to use as borders.  Turns out I had been collecting fabrics all this time that were perfect for each of their individual personalities without even realizing it!

Much of my sewing time this year was spent working on these quilts and last weekend I had the great joy of presenting them to the SILs at our family Christmas celebration. And yes, they loved them :)   I fact, this is the last photo my husband took before they starting elbowing each other and holding up their quilts in front of each other's facing exclaiming "mine is the best!"


First up is Rita's quilt. She loves chrysanthemums in the fall, so I chose a mix of autumnal batiks from my stash that coordinated with this beautiful ginkgo leaf border fabric.  I used a free pattern from Timeless Treasures called "Tonga Harvest All Squared Up Quilt" which was designed by Pam See of vanillalattequilts.com.  It measures 48" x 68" with 10" x 12" finished blocks.


The backing is another fall toned batik, but I'm not sure of the manufacturer or pattern name.


Beth is a die-hard Green Bay Packers fan whose new home is painted and decorated with lots of soft greens.  I added some soft browns to the mix so the green and yellow wouldn't be too obvious.  This pattern is "Picture This" from the pattern book "Happy Hour" by Atkinson Designs.  The finished blocks are quite large - 14.5" square - with the entire quilt measuring 58" x 72".


The large piece of green and yellow sweet gum leaf fabric on the back was the original inspiration for the color palette used on the quilt front.


Mary is a master gardener who loves roses.  These fabrics are from Jennifer Paganelli's "Circa" line for Free Spirit, and the pattern is "Show Biz" by Villa Rosa Designs.  It finishes at 54" x 63".


Mary says the back of her quilt is just as lovely as the front; it's the "Taylor" print in blue from the Free Spirit "Circa" line.


Jody's home is filled with a burgundy and cream color palette so I used a mix of French General, 3 Sisters, and Red Rooster fabrics.  This quilt is made using the same "Show Biz" pattern and also measures 54" x 63".


The color of this French General backing fabric is slightly off in this photo - it's really a much deeper red that looks so rich with the deep red tones of the quilt front.  It's one of my favorite prints from French General and kinda makes me want to start hoarding their fabrics.


And the final quilt belongs to Lisa - lots of deep navy accented with gold, wine, and green.  The pattern is "Snapshots" from the "Happy Hour" book by Terry Atkinson and measures 57" x 75".  The multicolored border was my color palette inspiration.


I used several extra blocks on the backing to make it more interesting and colorful.


Each quilt has a hand-written and hand-stitched label containing my name, the date, and the name of each sister-in-law.


There are lots of machine and hand stitches in each of these special quilts, but I have to give the machine quilting credit to my super-talented longarm quilter Carol Linder.  She did a fantastic job getting each of them quilted in plenty of time for me to have them all ready for Christmas delivery.

It was a big job to finish all of these beautiful quilts, but I'm so glad I decided to do it, and I'm even more thrilled that each of these five special ladies loves their quilts.  I'm a lucky girl to have married into such a wonderful family :)


Watch for two more posts about my 2014 Christmas sewing projects coming this week!

Tuesday, October 28, 2014

pattern weights gift set

Here's a great DIY gift idea for the sewing enthusiast in your life - a set of colorful pattern weights!


Thing 1 is doing a LOT of sewing as part of her apparel design courses in college. During my last visit to warm and sunny Savannah, I noticed a jagged broken glass jar candle on an end table in her apartment. She had been using it as a pattern weight, and it slipped off the table. So of course the mom (and avid Pinterest user) in me decided right then that I needed to make her a set of pattern weights :) I got the idea for these no-sew functional and fun weights from this pin.


Supplies needed for this project are:
  • (30) flat 3/4" metal washers from the hardware or home improvement store
  • (5) 15 ft spools of 3/8" grosgrain ribbon
  • high-temp glue gun and glue sticks
Hot-glue the washers into sets of 2 and 3 washers to make 12 pattern weights (you'll end up with 6 of each). One 5 foot length of ribbon will cover a stack of two washers, but a stack of three washers requires about 6 feet. Cut two of the ribbon spools into thirds (5 ft lengths) and cut the other three spools in half (7.5 ft lengths). Use a candle lighter to "melt" the cut ends of the ribbons so they won't fray.


Secure one end of a single ribbon to a washer set with the hot glue and begin wrapping by pulling the ribbon up through the center and around the outer edge overlapping the ribbon as you go. When the washers are completely covered trim the ribbon, melt the cut end, and simply secure it with another small bit of hot glue. Be careful because high-temp glue is very hot. Sorry for the lack of photos of these steps, but all my fingers on both hands were very busy holding the ribbon tight and trying not to get burnt with the hot glue! Depending on the strength and dexterity of your hands and fingers you may want to cover half of the weights one day and save the other half for the next day. My hands were really starting to get sore after covering the first 3 or 4 weights.


Naturally, cute pattern weights require an equally cute traveling and storage container, so I used these fun fabrics from my stash to make a zipper bag. Both fabrics are from a recent line called "Mama Said Sew" by Sweetwater for Moda - perfect for this project, huh? The darker fabric is printed like a dictionary page with all sorts of fabric and sewing terms defined, while the lighter fabric says, "Sew Sew Sew..." in a script font.


The pattern I used is Amy Butler's "Origami Bag" from her book Amy Butler's Style Stitches. The "mini" size measures 10.5" inches wide across the bag top (7.5" across the bag bottom), 3" deep, and 3.25" high - just right to comfortably hold these weights.


A decorative charm (from the jewelry making department at JoAnns) on the zipper personalizes and finishes it off perfectly!


The weights are getting a lot of use in her sewing studio classes. She loves them and most of her classmates do too. This useful gift was pretty inexpensive to make (about $20 total for the washers and ribbon) and is so very useful for the sewist in your life. Hobby Lobby carries a huge selection of ribbons (other craft retailers do too) so you can make a set to suit every friend's color and style preferences.

And now I think I need to make myself a set!

Thursday, October 23, 2014

sailboats finish

Yes I'm still here! I've been sewing away on many different projects, but some are top secret gifts and cannot be shared until after Christmas.

But this baby quilt for my newest great-nephew Caleb is now finished and delivered to his new home, so I can share the photos with you. His mother is planning the painting and decorating of his new nursery since moving this summer, and I can't wait to see the photos! For more details on the design and construction of this quilt top read this post.


I had intended to quilt this one myself, but finally caved and sent it out to a long arm quilter. The waves pattern we selected fits the sailboat theme and is a tad beyond what I could have accomplished with my own with my domestic machine. And he isn't going to be a baby for much longer, so I got some help :)


The quilter did a great job centering the pieced back. I like this side almost as much as the front!


In order to have the quilt finished quickly I enlisted the help of a different long arm quilter. Her business is run differently than my usual quilter Carol. I've been spoiled by Carol - she allows clients to come to her house and search through her wide range of thread choices so you can actually see the thread against your quilt top and make the best color choice. Her computerized quilting software also allows her to input the dimensions of your quilt top to create a line diagram of the component blocks and borders. She can then superimpose potential quilting patterns over the diagram so that you get a sense of the pattern's scale. She can then increase or decrease the pattern size to better suit the design of your particular quilt.

The quality of this quilting is very good and I'm pleased with it overall, but I do wish I had been able to see the pattern against the blocks and decrease the scale to better suit the size of the sailboats. Like I said - spoiled.


Lesson learned. I'm not sure if the lesson is to better communicate my needs and wants with a new long arm quilter before contracting with her, or to simply make the decision to have it quilted earlier in the process so I can utilize my usual favorite long arm quilter even though she has a longer waiting list? Probably a bit of both ;)

But thankfully Caleb is unconcerned with the size of the wave quilting!

Friday, September 19, 2014

college apartment pillows - part 2

I'm finally back to finish reporting on the college apartment pillows that I helped Thing 1 make last month.  The round pillow was made using an Amy Butler pattern, and you can read more details about the construction of that one here.  But today I want to tell you about the other four pillows we made.  I did most of the cutting, and Thing 1 did ALL of the sewing.


The two square pillows were sewn with home dec weight fabric we found at JoAnns.  Each of these 27" floor pillows has a beige hemp piping/welting trim around its outer edge.  The inserted pillow forms have a box edge instead of the usual knife edge, so the covers are well stuffed - just the way you want a floor pillow!


They also have concealed zipper flaps on the back to hide the zippers and prevent scratching either the floors or people sitting on them :)


In this photo you can see the standard 22" zipper beneath the flap.  I always use this tutorial for placing a lapped zipper on the back side of a pillow - it has several photos and excellent directions that guide you through the entire process.


The two lumbar pillows each measure 14" x 28" and are also made using a home dec weight fabric from JoAnns.  I liked this fabric so much that I bought extra yardage to re-cover the cushions on a rocking chair here at my own house!


Thing 1 decided to sew invisible zippers into the 14" ends of these two pillows.  She's a zipper pro!


All of these gorgeous pillows are now decorating Thing 1's college apartment.  Needless to say it's a very stylish first apartment.  This photo was taken at the end of two days of non-stop painting and moving furniture.  A lot more decorating has happened since then, but you get the general idea.


Here we are outside the building which dates from 1850.  It's on an all brick street with brick sidewalks - very charming :)


Currently I have a cut of home dec weight fabric just waiting to be made into another HoneyBun Pouf pillow for a class sample.  It's on the top of the project pile so it stands a decent chance of completion before the year ends ;-)

Enjoy your weekend!

Friday, August 29, 2014

college apartment pillows

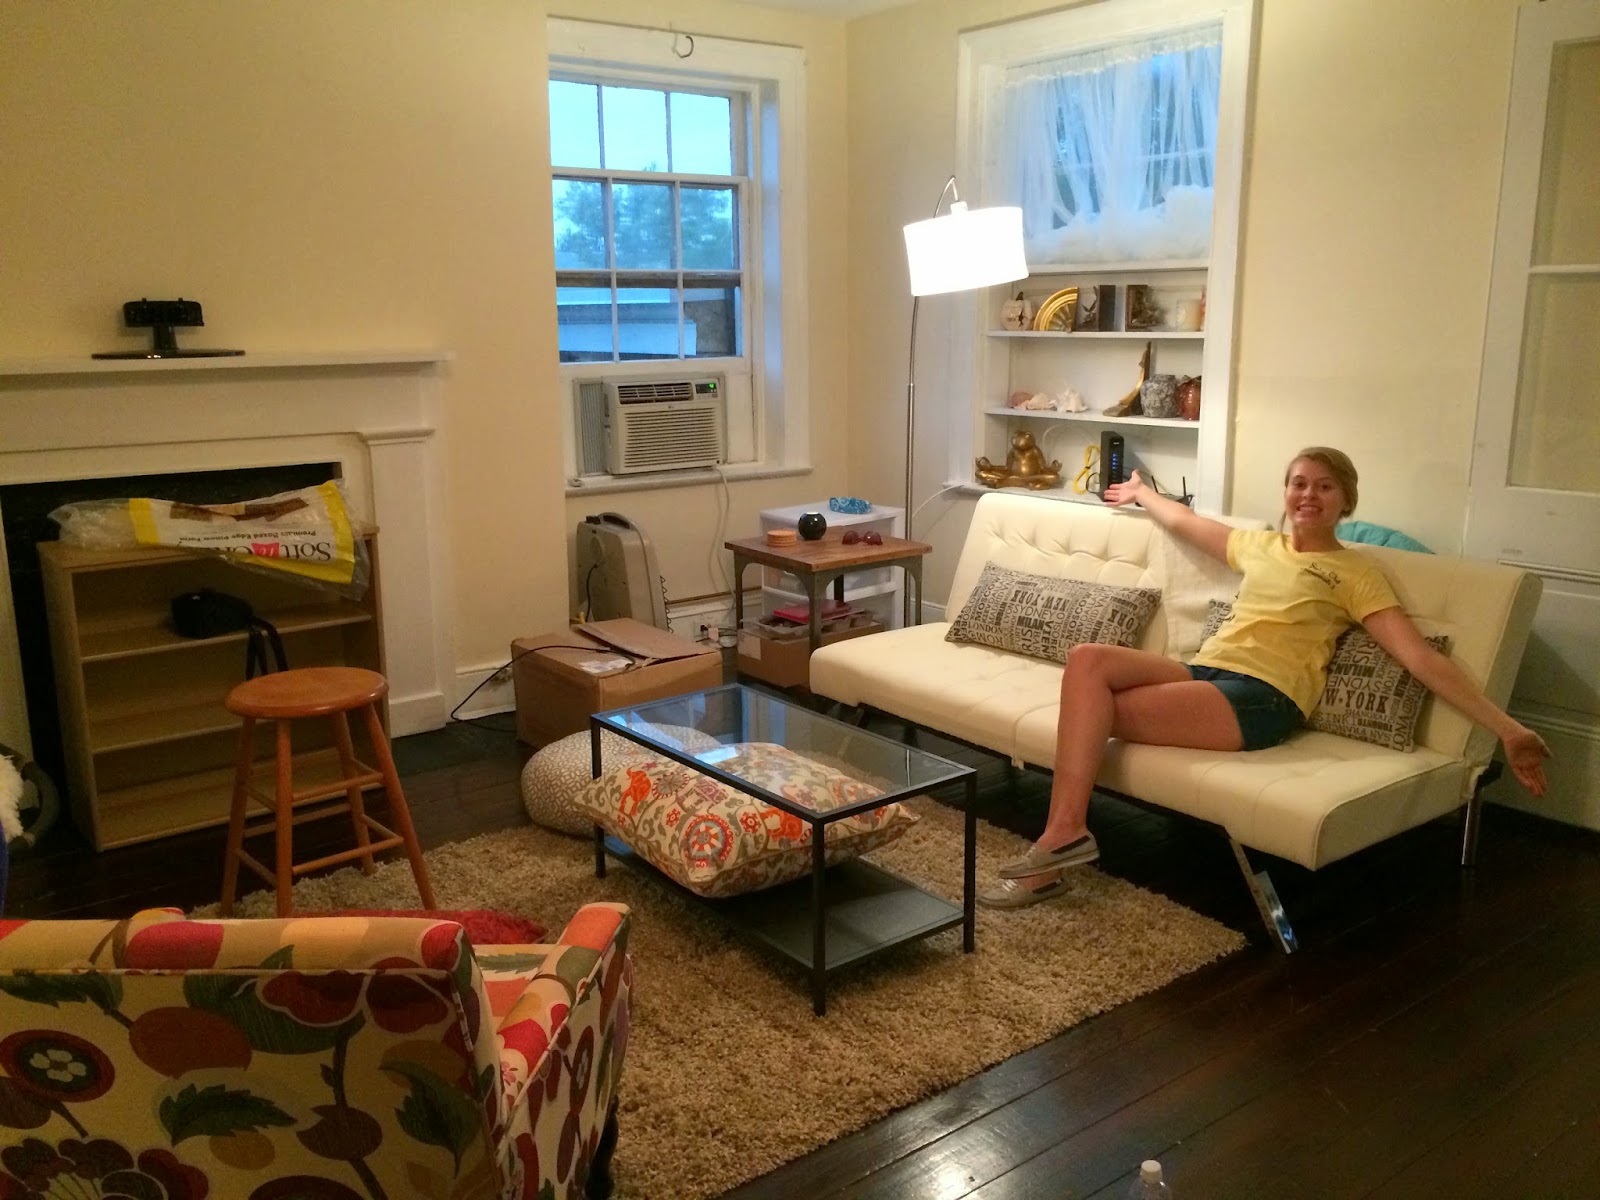
It's been a fun summer with little bits of sewing here and there, but last week was VERY productive! Thing 1 is preparing to move into her first apartment at college, and she needs some fun pillows to decorate her new space. She did most of the sewing, I did most of the cutting, and with a few days of  intense work she has three new seriously stylish floor pillows...


And two lumbar pillows for the couch/futon!


I'm going to dive right into the "how-to" for the most difficult pillow - the 24" round Honey Bun Pouf pillow made from Amy Butler's pattern in this fun geometric print we found in the Home Dec section at JoAnn's. The pattern calls for 2 1/8th yards of 54" decorator weight fabric for the 24" size, but even after careful fussy cutting to match the print I still have 3/4 yard leftover. That seems an excessive amount of extra fabric, but I guess that just means a few more toss pillows :)

The pattern also gives directions for constructing the pillow with quilting weight cottons, but you need to back each pillow segment with heavier weight cotton canvas to provide the required sturdiness and weight for a floor pillow. In my opinion the home dec weight was perfect - not too bulky to work with , one less construction step, and the finished product feels durable.


First step - trace the wedge template provided with the pattern. I made 5 pattern tracings on freezer paper so I could iron the patterns to the fabric for easy cutting without pinning. 30 total wedges are needed to make the pillow - yikes!


Mark your pattern pieces with information from the pattern. This is an OCD type habit that I have, but it has saved me from making cutting mistakes several times. The information also helps if your patterns get separated from the instructions, and you find them two years later and wonder "what the heck are these?!" Ask me how I know this ;) The center of the pattern outer edge is marked to help me with the fussy cutting.


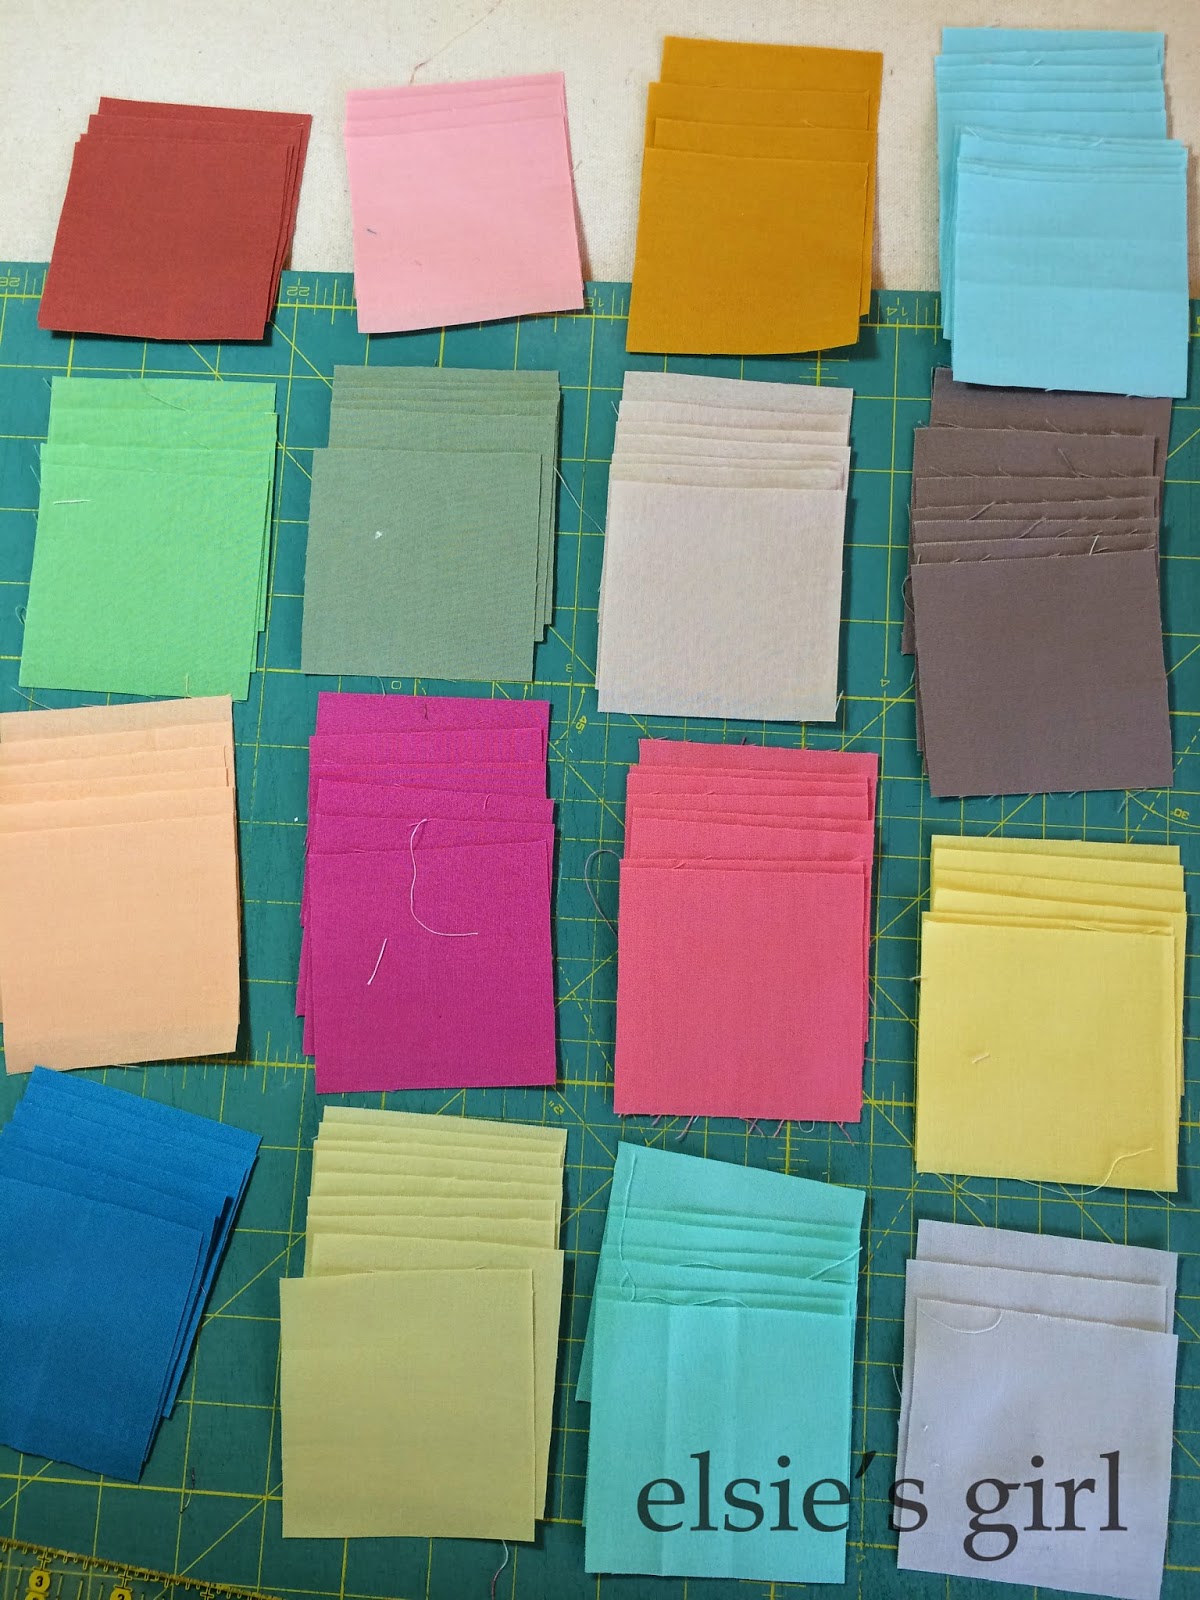
Since this geometric print is a mirror image from left to right and top to bottom I was able to stagger the pattern pieces across the fabric this way. I could fit my 5 wedge patterns across 26" - half the width of this decorator fabric - so 10 would fit across one complete width selvage to selvage. If your fabric has no specific pattern you want to match in cutting, then you could cut two layers at a time. But since I wanted (needed!) to match the fabric pattern, I cut each wedge individually. And notice no pins! Freezer paper is fabulous for patterns like this!


Each wedge is backed with a layer of lightweight cotton batting, which means you need to cut 30 pieces of batting using the wedge pattern.  The pattern supply list includes a twin sized batting, but that seems an excessive amount.  I can't say for sure the actual quantity needed since I used my scraps, but it seems to me a throw size (60" square) for the 24" pillow will be sufficient. The lightest weight cotton batting is what you want. Anything with more weight and bulk is going to give you problems sewing. Quilter's Dream Request batting (the blue label) is a good choice.


The batting is basted to each wedge section and then trimmed away to very near the basting stitches - by far the most tedious step of the process. The pillow top and bottom are sewn into three segments of five wedges with all seams pressed in the same direction. Here is one completed segment - 1/3 of the pillow top.


And here is the completed top. That fussy cutting was totally worth the extra time, right?!


The underside of the pillow top shows how the seams all spiral in the same direction. Loops of twill tape are sewn to the center of the top and bottom to achieve the tufting effect. I initially questioned the necessity of this step thinking I could just use a long upholstery needle to attach the buttons at the end after stuffing, but this method is genius.  Do it this way!


A 12" zipper provides the side seam opening for stuffing. Inserting this zipper was easy peasy. I was anticipating much more difficulty because of all the fabric bulk, but it went very smoothly.


Two self-covered 2.5" diameter buttons and 4 pounds of fiberfill stuffing completes the pillow.  None of the local sewing supply shops had this size button kit in stock so I ordered them from amazon.


The medallion motifs were fussy cut from fabric that we used on another pillow - they were the perfect size!


Since this is such a lengthy and photo-heavy post, I'm going to save the details about the other four pillows for the next post.

I hope you all have enjoyed your summer as much as I have - with the exception of the rotary cutter incident of course!  Here's to a great fall season.  Back to school and back to sewing!!

Are there any other Honey Bun Pouf pillow makers out there?

Monday, June 30, 2014

quilting is dangerous business!

I've been at this sewing and quilting business for a LOT of years, and until yesterday I've remained injury-free. Which is sort of remarkable because I'm a tad clumsy - always bumping into furniture bruising my knees, elbows, feet, and hands. But yesterday I cut myself with a rotary cutter not just once, but TWICE! The second cut earned me a trip to urgent care for stitches :(


Nice huge bandage, huh? There wasn't much pain involved, and I almost didn't go thinking I could just wrap it really tight and keep going. But my friend Kelly (who raised three boys) assured me that it did indeed require stitches - three to five stitches to be exact.

Behold, three stitches. Luckily I didn't do any major damage to any tendons or cut through the nail.  (Note the bandage on the knuckle of my middle finger covering the first cut of the day.)


And what were we working on that was so dangerous?? Cutting fabrics for our "Steampunk" quilts using the smallest size rotary cutter and acrylic pattern templates. There are 5 different templates for this one block, and we're planning to make around 75 blocks each - lots of cutting. Here are all the block pieces laid out before sewing...


And here's the first block all sewn together. Lots of pinning was needed, and it was pretty slow going, but I think we are going to create some fabulous quilts!! After a few rotary-cutter-free days for me, that is...


You can view lots of incredible Steampunk blocks here on Flickr and on Instagram by searching for the hash tag "steampunkquilt".  I purchased my pattern and templates from The Quilt Studio while they were vending at  Paducah, KY in April, but you can order them here from their Etsy shop.  More patterns by Jen Kingwell can be found here.

 You should make one too! But be careful with that rotary cutter. And no, I didn't bleed on any fabrics - whew!!

LinkWithin

Related Posts Plugin for WordPress, Blogger...